Crafting Garden Planters from Local Wood
Design and build sturdy wooden planters using sustainable Baltic timber. We'll cover wood treatment methods, drainage solutions, and seasonal maintenance tips for long-lasting garden containers.
Why Build Your Own Garden Planters
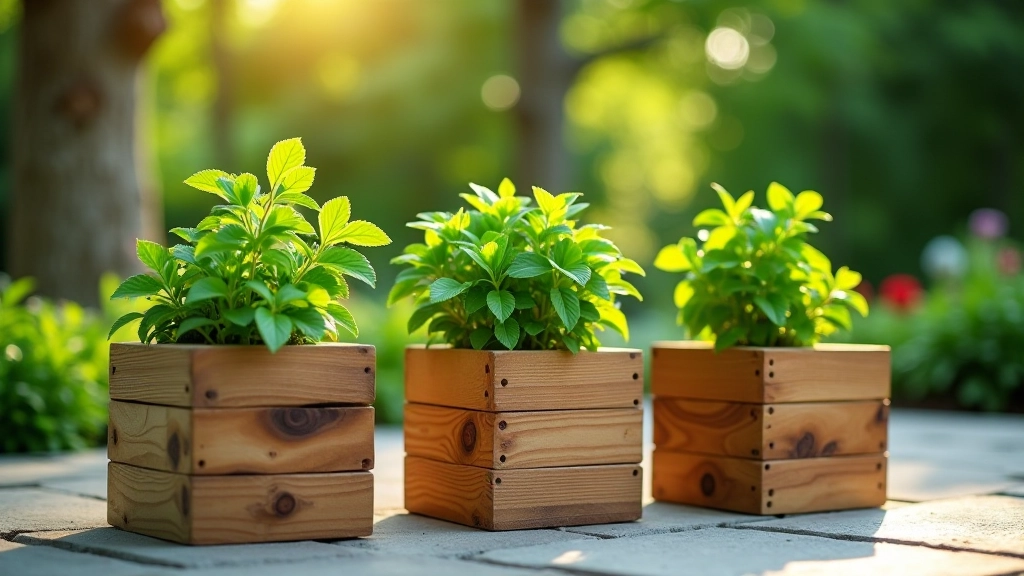
You don't need fancy store-bought containers to grow herbs and vegetables. Building wooden planters from locally sourced Baltic timber gives you complete control over size, drainage, and materials. Plus, there's something satisfying about creating something that'll last for years in your garden.
The real benefit? You'll understand exactly how your planter is constructed. That means you can repair it, adjust the drainage, or rebuild it if needed. Most commercial planters fail because the wood rots or the joints separate. When you build it yourself, you know every joint is solid.
Selecting the Right Wood
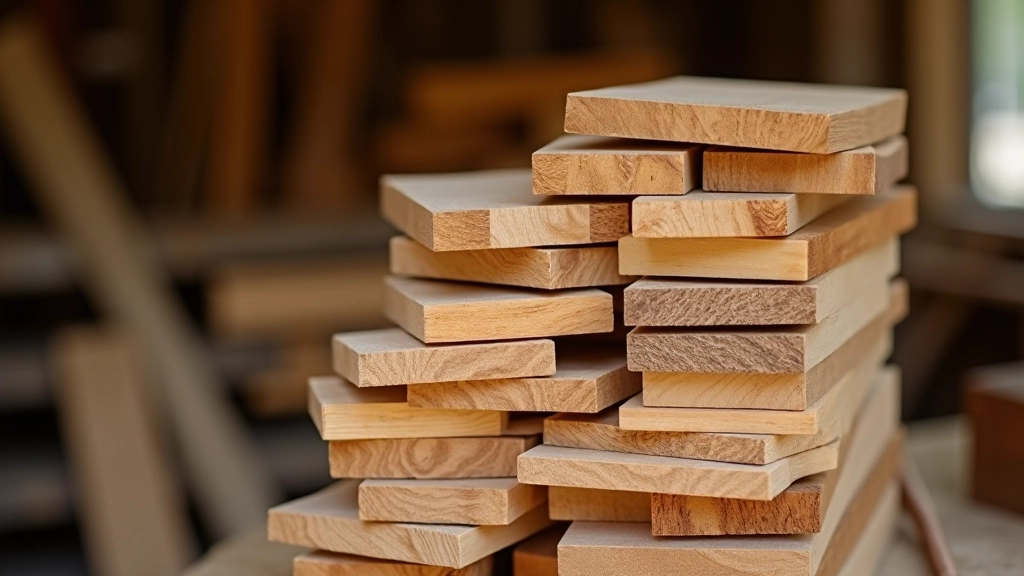
Not all wood works equally well for outdoor planters. You want something that resists rot naturally without becoming brittle. Baltic pine, spruce, and oak are your best bets if you're sourcing locally.
Pine is probably the most accessible. It's lightweight, easy to work with, and relatively affordable. The downside? It'll rot faster than oak unless you treat it properly. If you can find fallen oak or birch in your local forests, grab it. Oak's density makes it last 8-10 years outdoors even without treatment. That's genuinely impressive for untreated wood.
Avoid pressure-treated lumber if you're growing vegetables. The chemicals can leach into soil. Instead, use natural sealants or boiled linseed oil for protection. It's safer for your food and the environment.
Building the Frame
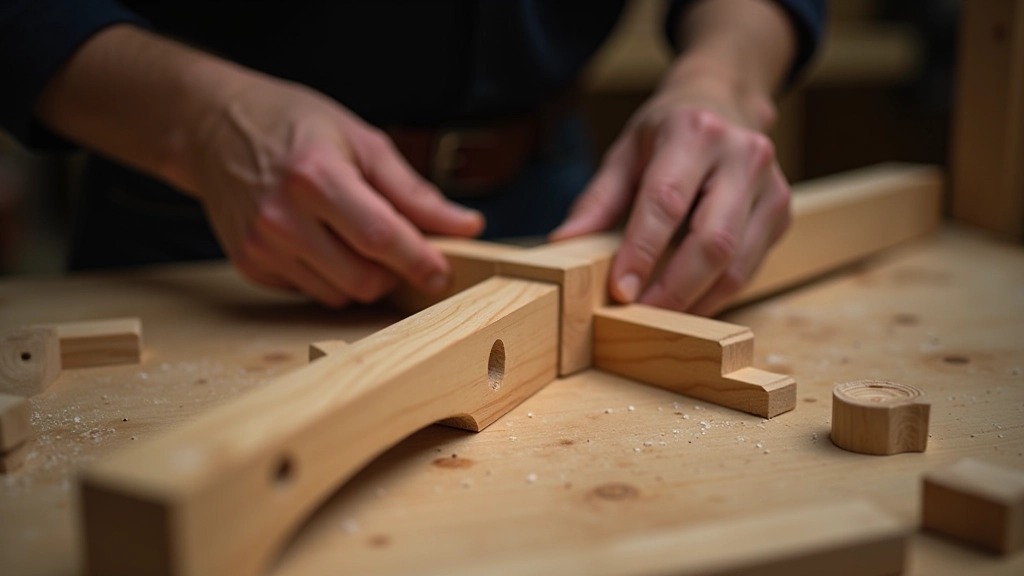
A basic rectangular planter needs four sides and a floor. Start with boards that are roughly 1 inch thick and 8-12 inches wide. For a 24-inch long planter, you'll cut your corner posts at about 14-16 inches tall. That gives you plenty of depth for root growth.
The joints matter more than you'd think. Simple butt joints with screws work, but mortise and tenon joints last longer. If you're new to this, don't worry — pocket hole joinery is nearly as durable and much faster to learn. It's what professional builders use when they need speed.
Space your screws about 4-6 inches apart along each joint. Use galvanized or stainless steel screws — regular steel will rust and stain your wood. Pre-drill your holes to prevent splitting. It takes an extra minute but saves headaches later.
Drainage and Wood Treatment
Here's what kills most wooden planters: poor drainage and untreated wood sitting in constant moisture. Drill 4-6 holes in the bottom of your planter, each about half an inch wide. That's enough to let water drain without washing away soil.
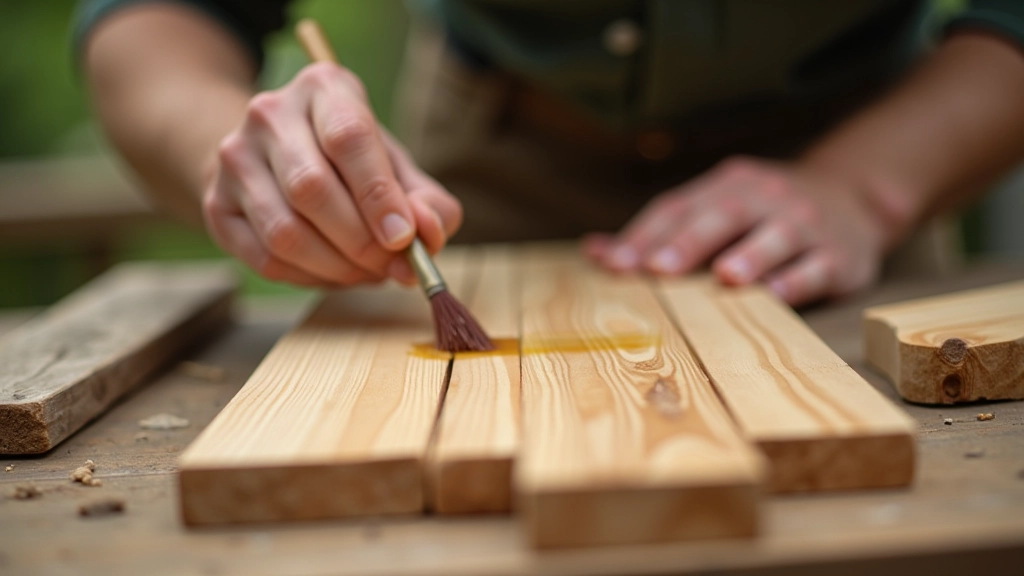
For treatment, boiled linseed oil is your friend. It's non-toxic, easy to apply, and actually water-resistant once it cures. You'll need two or three coats, with 24 hours drying between each. Some people swear by exterior wood stain instead. Both work. The key is that your wood needs protection.
After assembly, add a protective bottom layer. You can use landscape fabric, cardboard, or even old burlap. This creates a barrier between the wet soil and the wood floor. It'll extend your planter's life by at least three years.
Sizing for Different Plants
Herbs & Greens
Go shallow. 8-10 inches deep works for basil, parsley, and lettuce. You'll want it about 12-16 inches wide. These plants don't need much root depth but appreciate width for spreading.
Tomatoes & Peppers
Go deep. 14-18 inches minimum, preferably 20+. These plants develop strong root systems. A planter that's 24 inches long and 16 inches deep gives them plenty of room to thrive through the season.
Root Vegetables
Depth is critical. Carrots and beets need 12-14 inches minimum to develop properly. Make them tall rather than wide. A narrow, deep planter is perfect for these crops.
Seasonal Maintenance
Your planter isn't a one-time build and forget project. Spring brings the chance to refresh everything. Check for soft spots in the wood — if you press your thumb and it leaves an indent, that area's starting to rot. You can replace just that board if it's still solid elsewhere.
Summer's the growing season. Monitor drainage after heavy rain. If water pools for more than a few hours, drill additional holes. Also, refresh your soil annually. Don't just keep adding to the same soil year after year. Pull out the old stuff and start fresh. Your plants'll be noticeably healthier.
Fall is treatment season. After you've harvested, let the planter dry out completely, then apply another coat of sealant. This protects it through winter moisture. In cold climates, consider moving it slightly or tilting it so water doesn't collect on top of the boards.

Building Better Garden Containers
Wooden planters aren't difficult to build, and they're genuinely rewarding. You'll save money compared to buying quality containers, and you'll have exactly what you need for your garden. More importantly, you'll understand how they're made, which means you can maintain them properly.
Start simple. Build one planter, grow something in it, and see how it performs through the seasons. Then you'll know what works and what you'd do differently next time. That's how real skills develop — not from reading about it, but from doing it and learning from what happens.
The Baltic forests give us excellent materials. Using them thoughtfully for your garden is both practical and respectful of where they came from.
Informational Disclaimer
This article is educational and intended to share general knowledge about wooden planter construction. Building and gardening practices vary based on climate, location, and individual circumstances. Always follow proper safety procedures when working with tools and materials. Consider local regulations regarding forestry and material sourcing. Results will vary depending on your specific conditions, wood quality, climate, and maintenance practices.
Related Articles