Carving Walking Sticks from Latvian Forest Wood
Learn how to select, prepare, and hand-carve walking sticks from naturally fallen branches. Discover the best Latvian wood types and essential tools for creating functional outdoor gear.
Why Carve Your Own Walking Stick?
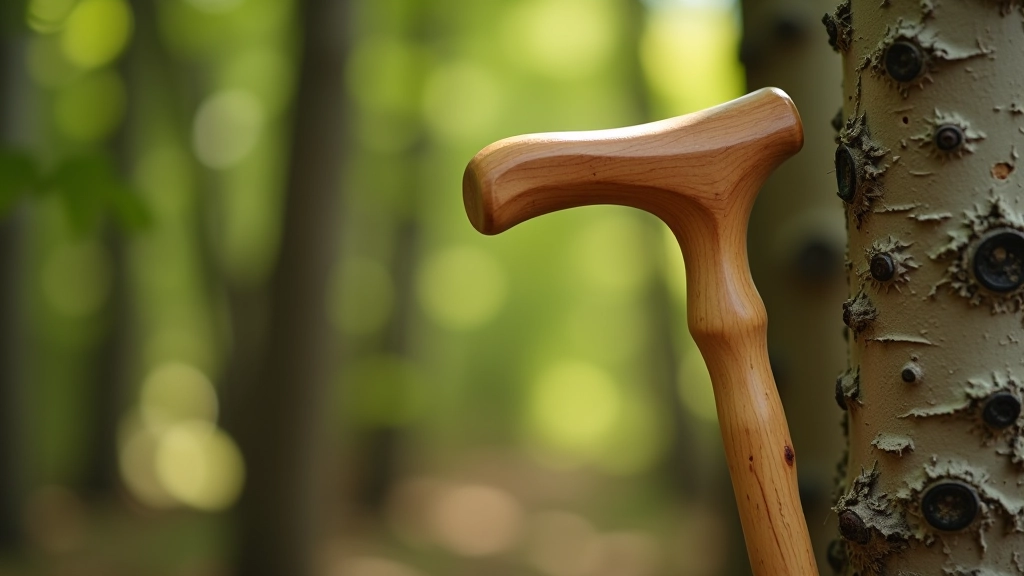
There's something deeply satisfying about creating a tool that you'll actually use. A hand-carved walking stick becomes more than just gear—it's a connection to the forest and the hours you've invested. You'll find yourself reaching for it on every hike, knowing exactly how it balances in your hand because you shaped it yourself.
The process isn't complicated. What takes skill is patience. But here's the thing: after just a few hours of carving, you'll have a functional stick that's genuinely better than anything you could buy. Latvian forests provide incredible raw materials—fallen birch, spruce, and rowan branches that are naturally strong and beautiful once carved properly.
1
Find Your Branch
Select naturally fallen wood, 1.5-2 inches diameter, straight grain
2
Prepare & Season
Debark, straighten if needed, let dry 2-4 weeks indoors
3
Carve & Finish
Shape handle, add grip pattern, seal with natural finish
Best Latvian Woods for Walking Sticks
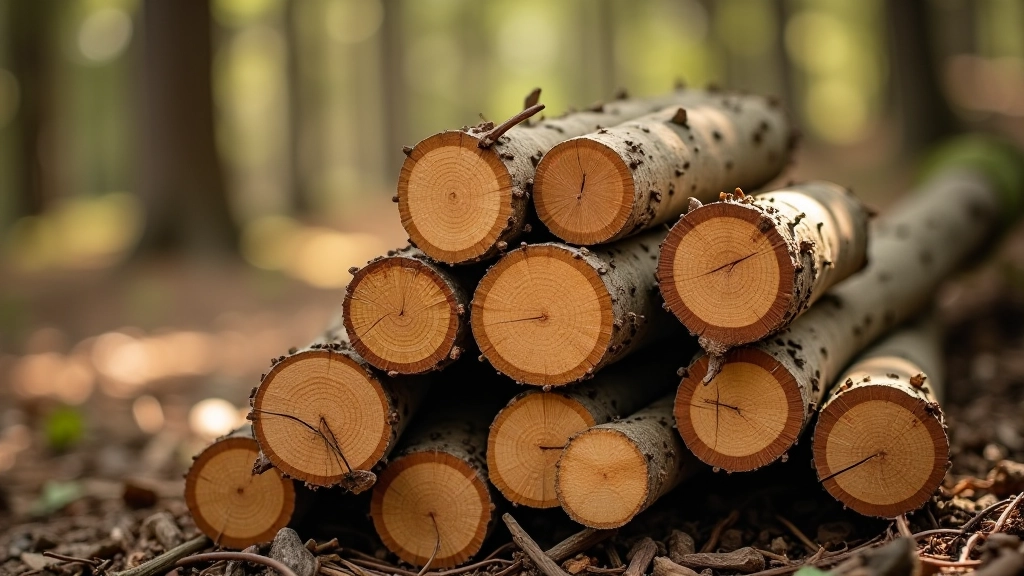
Not all woods carve equally. Some splinter too easily, others are too heavy. The Latvian forests offer several excellent options that have been used for centuries in traditional craft work.
Birch (Bērze)
The classic choice. Light color, fine grain, carves beautifully. Slightly flexible—perfect for absorbing impact. Branches are often naturally straight. You'll find plenty of fallen birch in Latvian forests year-round.
Rowan (Pīlādzis)
Dense and strong. Beautiful warm color that darkens with age. Takes fine detail work well. Slightly harder to carve than birch but the result is incredibly durable. A rowan stick can last 20+ years of regular use.
Spruce (Egle)
Lightweight and easy to carve. Good for beginners. Won't last quite as long as rowan, but you'll finish your stick faster. Works well if you want to practice on multiple sticks without spending weeks on each one.
Hazel (Lazda)
Traditionally used for walking sticks. Naturally straight growth, excellent flexibility. Slightly tricky to find fallen branches in perfect condition, but worth the search. Creates sticks that are both strong and responsive.
Essential Tools You'll Need
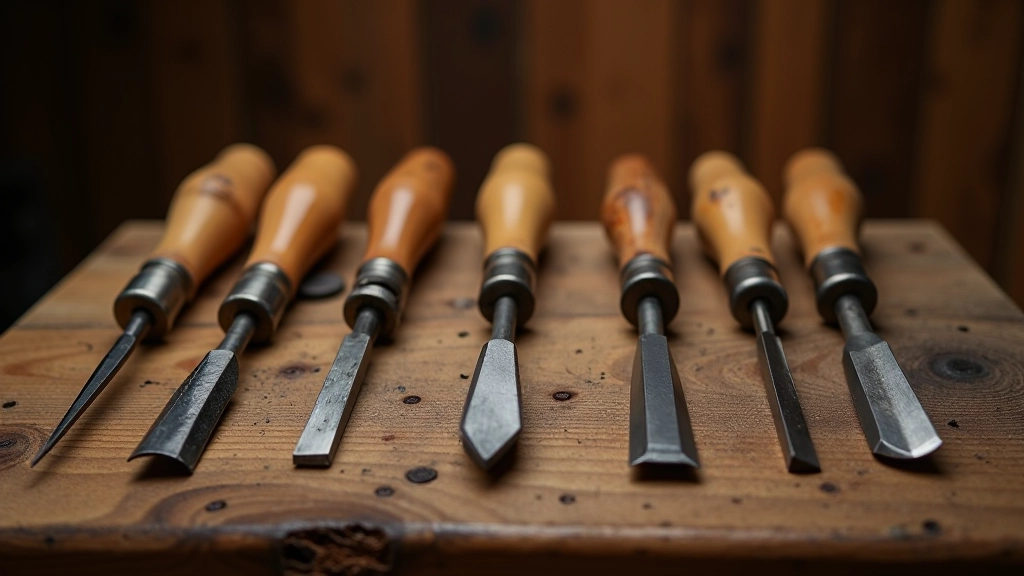
You don't need expensive equipment. Most carvers use just a handful of tools, and you can start with basic ones. As you develop your style, you'll add more specialized tools—but honestly, three good knives will get you through your first dozen sticks.
Roughing Knife
Heavy-duty blade for initial shaping. Removes wood quickly. Get one with a comfortable handle—you'll use this first.
Detail Knife
Smaller blade for fine work on the handle. Creates decorative patterns and smooth curves. Much easier to control than the roughing knife.
V-Tool
Creates lines and texture patterns. Optional but useful for adding grip texture and decorative elements to your finished stick.
Sharpening Stone
Dull tools are dangerous and frustrating. A simple stone and leather strop keep your blades ready. You'll sharpen between each stick.
The Carving Process: Step by Step
1 Select & Prepare Your Branch
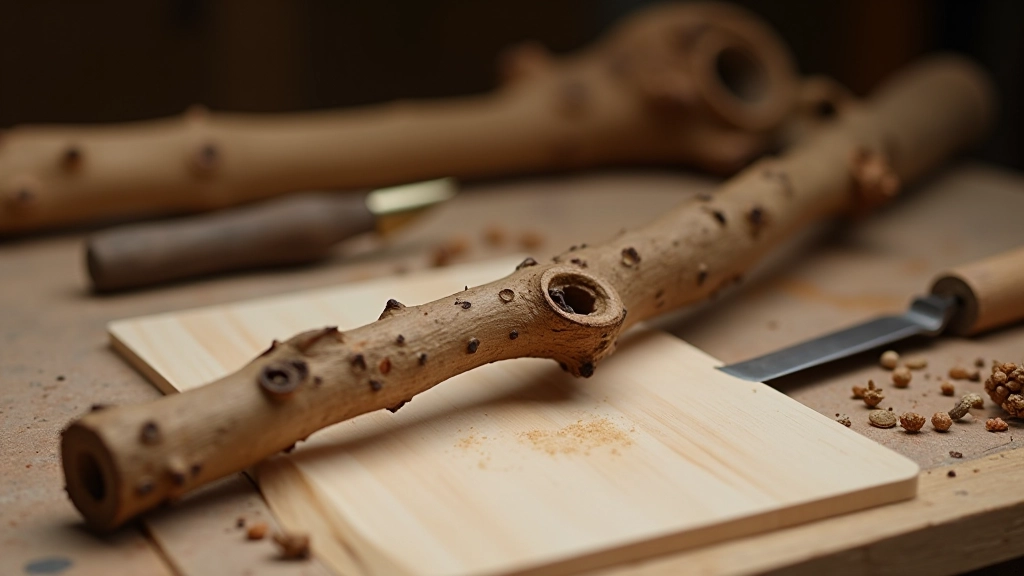
Look for naturally fallen branches that are straight and reasonably free of damage. The diameter should be about 1.5-2 inches at the thickest point—thick enough to be sturdy but thin enough to work with hand tools. Don't use freshly cut green wood; it'll warp as it dries.
Remove the bark using a draw knife or scraper. Work along the grain to avoid gouging the wood underneath. This reveals the wood quality and lets you spot any hidden cracks. After debarking, let the branch sit indoors for 2-4 weeks to dry properly.
2 Rough Out the Handle
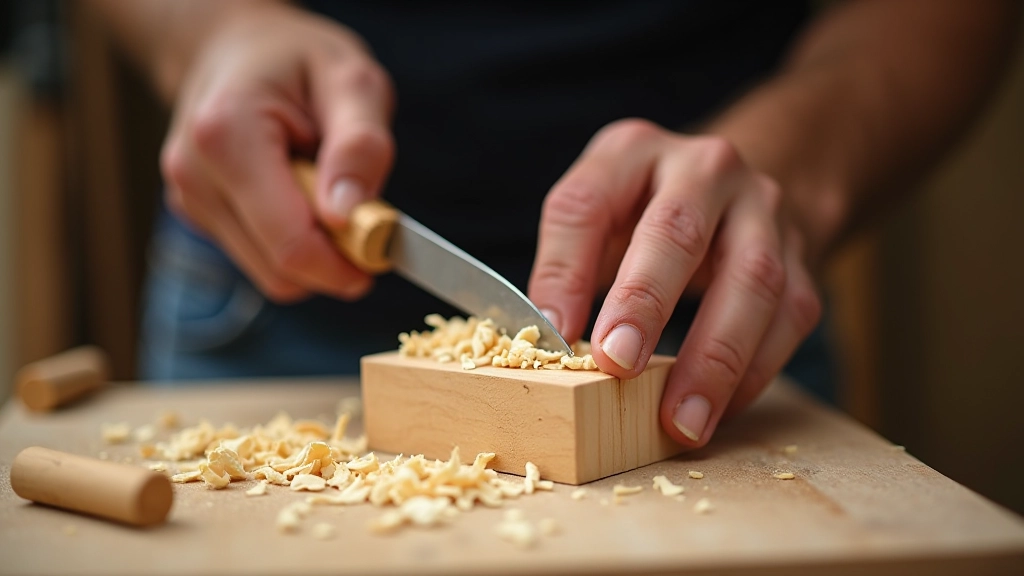
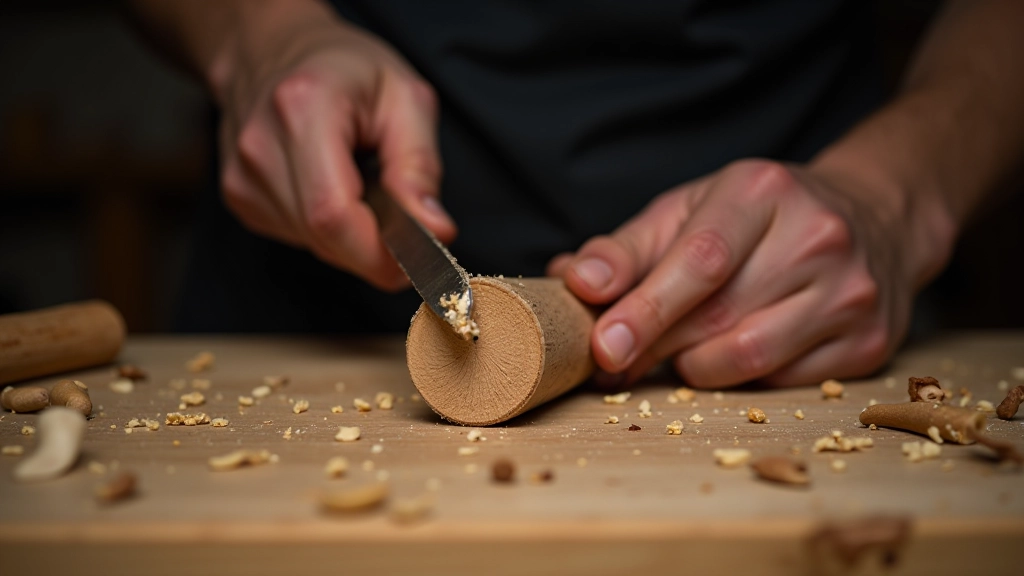
Start with your roughing knife. You're aiming to create a comfortable handle—roughly 4-6 inches long, slightly flattened on one or two sides. Don't overthink the shape. Hold the stick in your hand and feel what's comfortable. Everyone's hand is different, so your handle should be personal.
Work slowly here. It's easy to remove too much wood. Aim for a slight taper from the main shaft down to where your fingers grip. You want the stick to feel balanced—not top-heavy, not tiring to hold. Test it frequently by gripping it like you're actually walking with it.
3 Refine with Detail Work
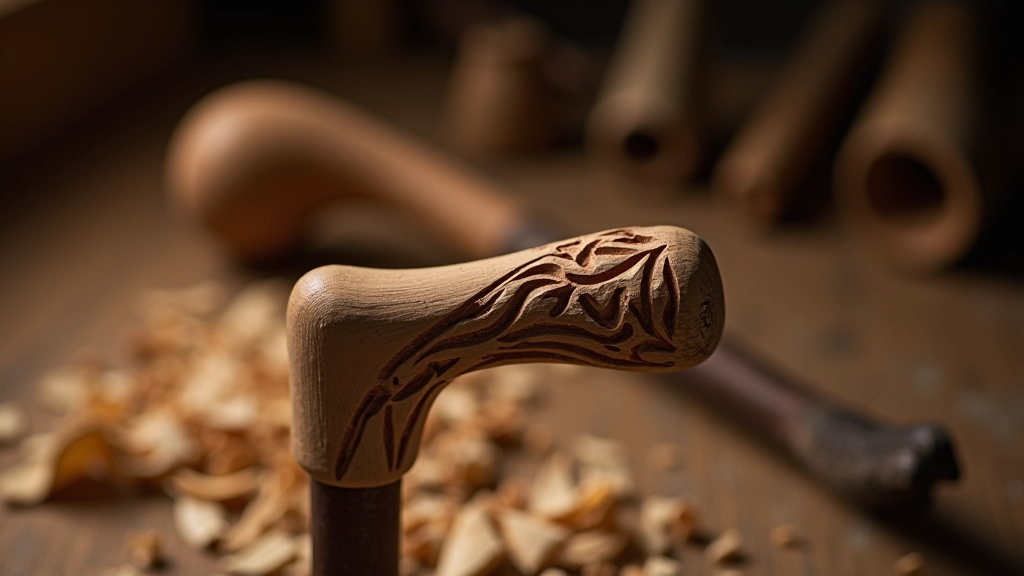
Switch to your detail knife. Smooth out the rough cuts from the roughing knife. Create a handle shape that's slightly ergonomic—you might add a subtle curve for your thumb, gentle ridges for your fingers to rest on. This is where you add character. Some carvers create spiral patterns, others prefer smooth flowing lines.
For grip texture, use your V-tool to create parallel lines or a cross-hatch pattern. This prevents the stick from being slippery when wet. Work in small sections, taking your time. Mistakes at this stage are visible and harder to fix.
4 Sand & Finish
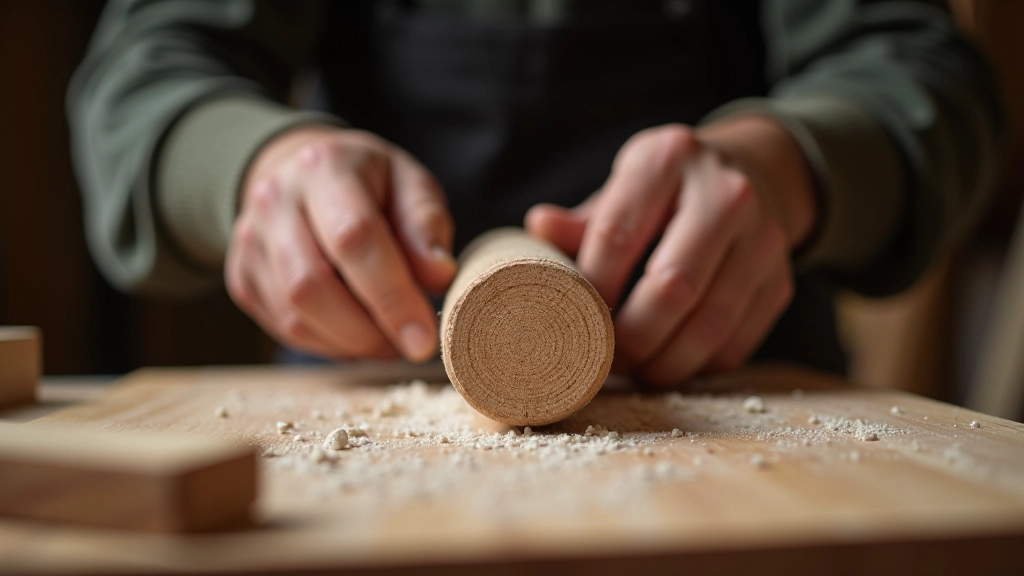
Once the carving is complete, sand everything smooth. Start with 80-grit sandpaper for the rough areas, then progress to 120-grit, 180-grit, and finally 220-grit for a silky finish. This takes time but it's worth it—a rough stick gets uncomfortable after a long hike.
For finishing, use a natural oil or wax. Linseed oil, tung oil, or beeswax all work well. These protect the wood while letting the grain show through. Apply 2-3 coats, letting each dry completely. Don't use polyurethane or plastic finishes—they look wrong on a walking stick and can feel slippery in wet conditions.
Practical Tips from Experience
Length Matters
Your finished stick should reach roughly from the ground to your wrist when your arm hangs naturally. Most people end up with sticks 48-56 inches long. Too short and it won't help on slopes; too long and it becomes tiring.
Straight Is Better
A slight curve is fine, but severe curves make the stick weak. If your branch is too curved, you can gently straighten it by steaming and binding it straight while it dries. But honestly, find straighter branches in the first place.
Knots Are Your Enemy
Avoid branches with large knots in the handle area. They're weak points and difficult to carve smoothly. Knots further down the shaft are fine. When in doubt, find another branch—good ones are plentiful in Latvian forests.
Keep Tools Sharp
Dull blades tear the wood instead of slicing it cleanly. Invest 5 minutes in sharpening between sessions. A sharp knife is safer, faster, and produces better results. You'll know your tools are ready when they easily carve thin shavings.
Let Wood Guide You
Every piece of wood has a grain direction. Carving with the grain produces smooth cuts; against it creates tear-out. Feel how the blade moves. If you're getting rough results, rotate the stick and try a different angle.
Your First Stick Takes Time
Don't rush. Budget 12-16 hours spread over a few weeks. Your first stick will take longer than later ones—you're learning. But that's the beauty of it: you're creating something that reflects your care and attention.
Start Carving This Season
A hand-carved walking stick is one of those projects that seems intimidating until you start. Then it becomes meditative, satisfying work. You'll spend an afternoon in the forest finding the right branch, a few evenings carving, and suddenly you've got a tool that's genuinely better than anything mass-produced.
The Latvian forests are generous with materials. Fallen branches are everywhere, waiting to become something useful. All you need is basic tools, some patience, and the willingness to make mistakes and learn from them. Your first stick might not be perfect—that's okay. Your second will be better. By your third, you'll have developed a style that's uniquely yours.
Disclaimer
This article is provided for educational purposes to help you understand the process of hand-carving walking sticks from wood. The information reflects traditional techniques and general woodcraft practices. Always prioritize safety when working with sharp tools. Wear appropriate protective equipment, work in a well-ventilated space, and take breaks to avoid fatigue. If you're new to woodcarving, consider practicing on scrap wood first or learning from experienced carvers in person. Circumstances vary based on wood type, tools, individual skill level, and environmental conditions. Results and timelines mentioned are typical examples, not guarantees.

Related Articles