Crafting Garden Planters from Local Wood
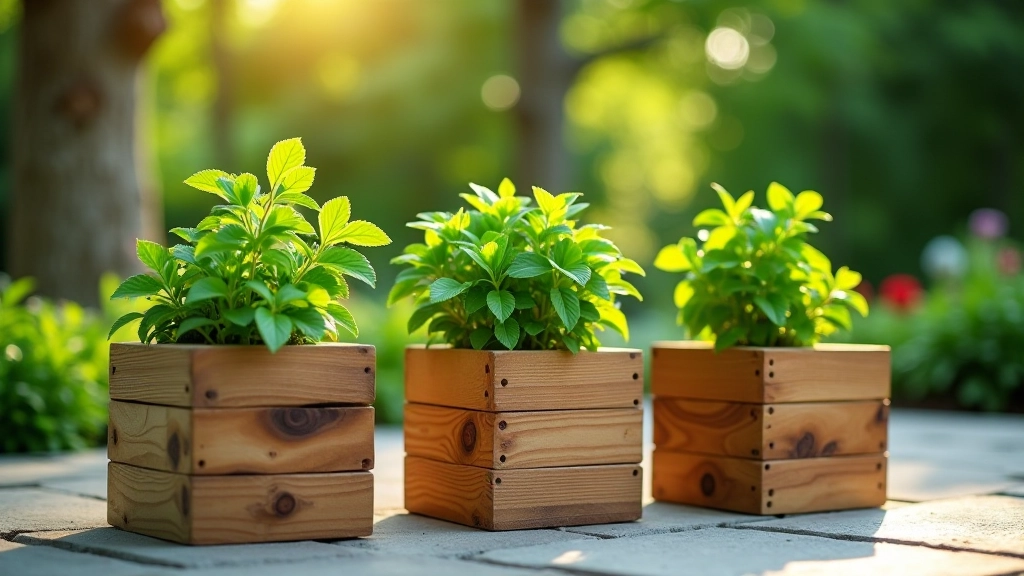
Design and build sturdy wooden planters using sustainable Baltic timber. Includes wood selection, joinery techniques, and weatherproofing methods for year-round garden use.
Everything you need to construct a functional birdhouse from Baltic pine. We'll cover wood selection, cutting, assembly, and finishing that protects your build year-round.
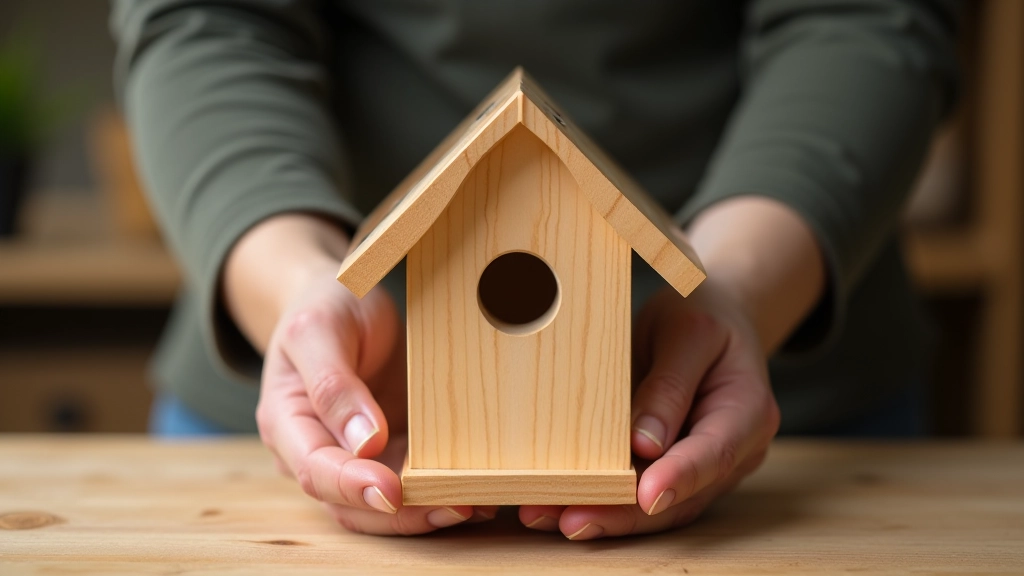
Building a birdhouse isn't complicated, but it does require some planning. You'll need basic hand tools, decent wood, and maybe a couple hours on a weekend afternoon. The result? A home where local birds can nest safely — and you'll get to watch them come and go all season long.
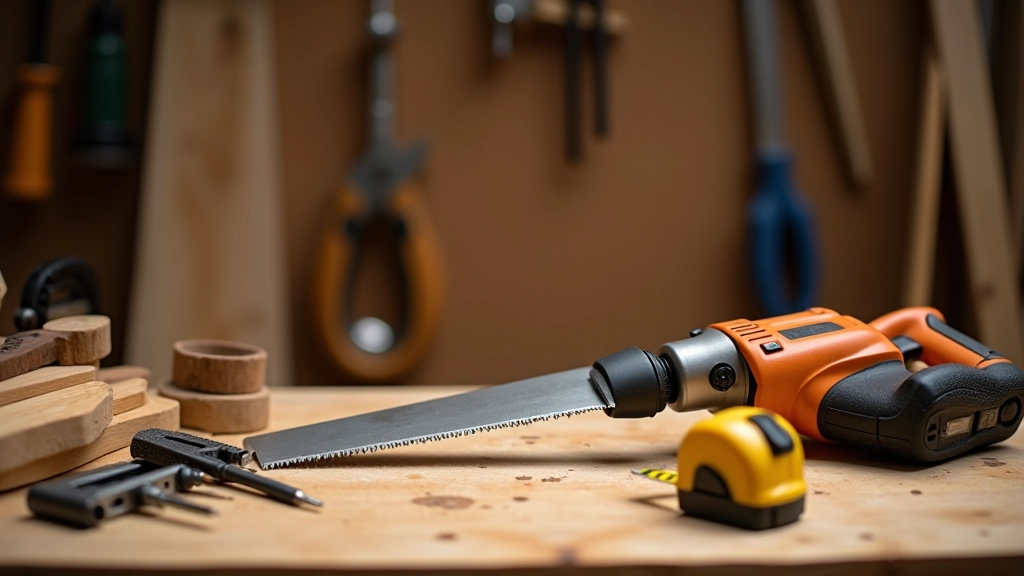
We're building this from Baltic pine — it's affordable, weather-resistant, and works beautifully for outdoor projects. You don't need expensive equipment. A good handsaw, drill, and measuring tape will get you through the whole build.
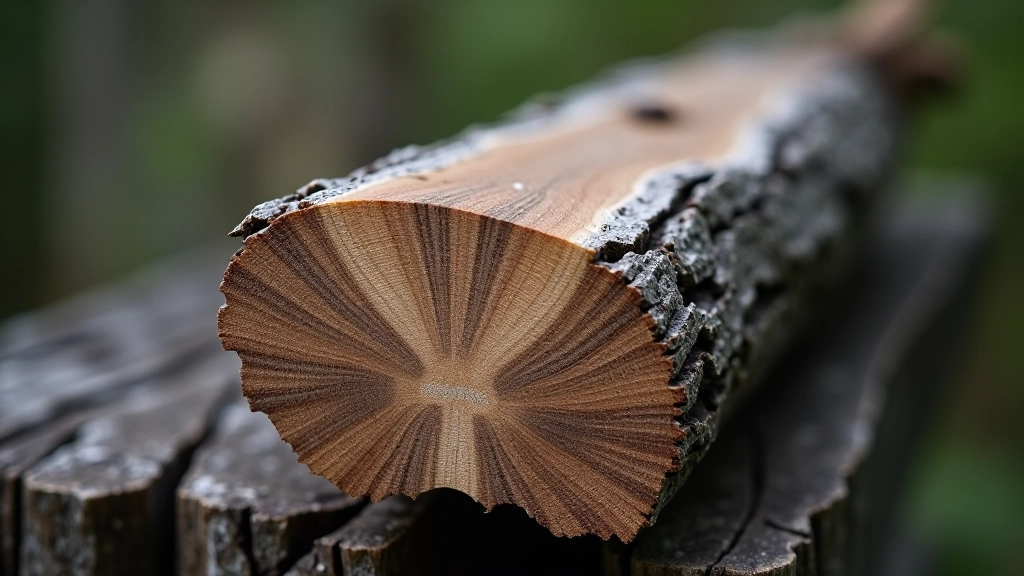
Pine is your best friend here. It's soft enough to work with hand tools, naturally resistant to weather, and readily available. Look for boards without major cracks or deep rot — minor blemishes don't matter. Actually, they add character.
Baltic pine specifically holds up well in damp conditions. If you can source reclaimed Baltic pine from old barns or fences, that's even better. The wood's already been through a few seasons and won't warp as much. You're looking for something with a slight gray weathered finish — that's exactly what you want for a birdhouse.
Avoid treated lumber. Birds are sensitive to chemical coatings, and you don't need them anyway. The whole point is letting the wood age naturally over time.
This is where your measurements matter. You're cutting six pieces total. Take your time — a wonky cut now means gaps later.
Cut two pieces at 22cm tall. These form the main body of your house. The entrance hole goes in the front piece — you'll drill that once everything's assembled.
Two pieces at 15cm tall. These sit between the front and back, creating the depth of your box. Make them slightly narrower than the front (about 1cm less) so they fit snugly inside.
Bottom piece: 15cm × 15cm. Roof pieces: one at 17cm and one at 19cm, both about 20cm long. The sloped roof sheds water naturally — that's your weatherproofing right there.
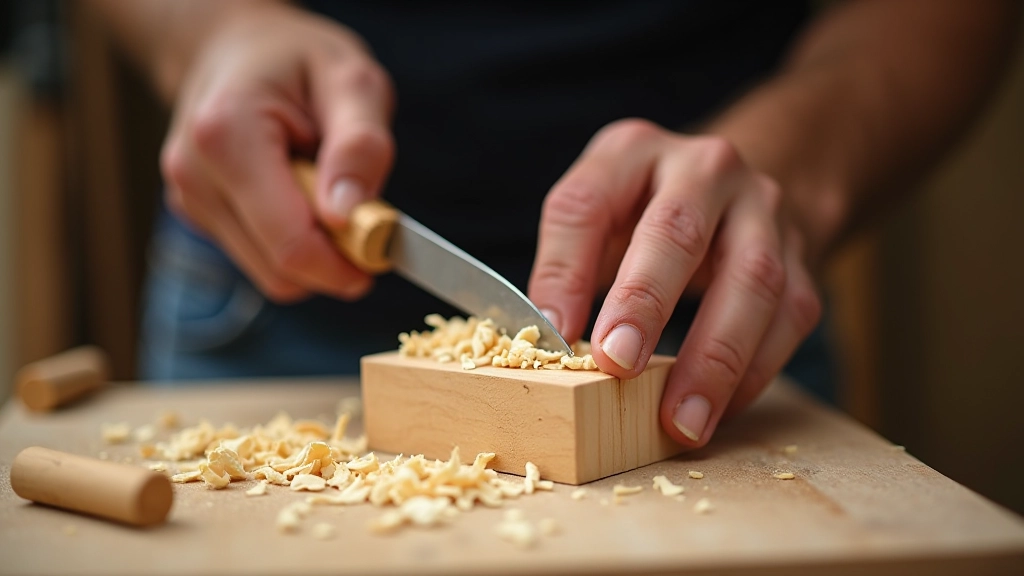
Once everything's cut, sand all edges smooth. Use 80-grit first to remove rough spots, then 150-grit for a finished feel. Sand takes maybe 15 minutes total — don't skip it. Rough edges will splinter, and birds don't appreciate that.
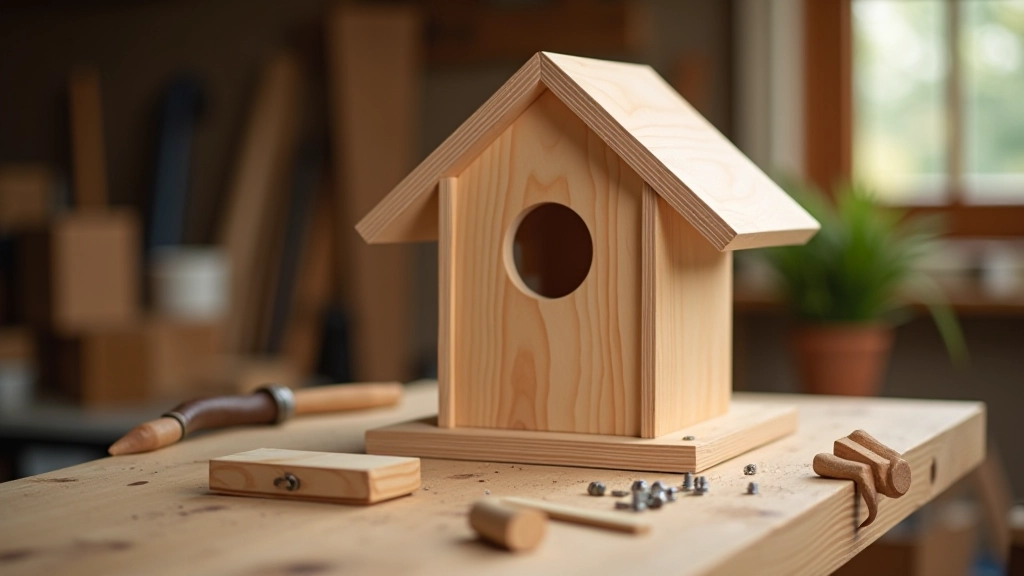
Here's where your birdhouse comes to life. You're essentially building a box with a sloped roof. Screw everything together from the inside if you can — it looks cleaner and the fasteners won't rust as quickly.
Start with the bottom. Attach both side walls to it using wood glue and two screws each. Then attach the front and back walls. Don't worry if it's slightly wobbly at this stage — the roof will stiffen everything up. Now drill your entrance hole in the front. Most birds prefer a 3cm hole for common species like tits and sparrows. Drill from inside out so splinters go outward, away from nesting birds.
The roof goes on last. Attach the shorter piece first, then overlap the longer piece on top. This creates a natural overhang that keeps rain out. Two screws per roof piece is enough. Your structure's complete — feels solid? You're doing it right.
This step extends your birdhouse's life from a few years to a decade or more. You've got two options: natural finish or paint. Both work — it's just preference.
Whatever you choose, let it cure fully before mounting. The entrance hole stays unpainted or unsealed — birds need to grip it with their claws. Add small drainage holes in the bottom (three 5mm holes in a triangle) so rainwater doesn't pool inside. Your birdhouse is now ready for residents.
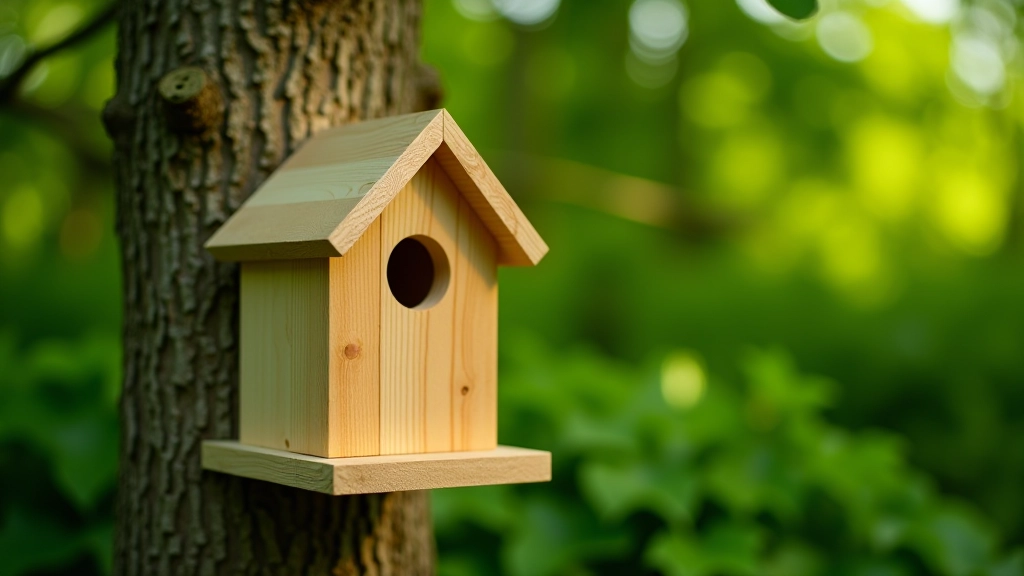
Height matters. Mount your birdhouse 1.5 to 3 meters up — high enough that predators can't easily reach it, but low enough that you can clean it if needed. A slight forward tilt helps with water runoff. Face the entrance away from prevailing winds and direct afternoon sun.
Trees work best, but a sturdy fence post or wall bracket works too. Use stainless steel or galvanized brackets — they won't rust and won't stain the wood. Once it's up, leave it alone. Don't paint it again, don't move it constantly, don't add decorations. Birds want a quiet, consistent home.
Mount it in late winter or early spring before nesting season starts. By April or May, you might see birds investigating. That's the moment this whole project becomes real.
Your birdhouse doesn't need much attention, but a little care keeps it functional for years.
Clean out old nesting material from last year. Remove the bottom, sweep it out, and reattach. Don't use pesticides inside — they're harmful to birds. A simple brush works fine.
Leave it completely alone. Birds are nesting and raising chicks. Any disturbance could cause them to abandon. Just observe from a distance and enjoy watching them come and go.
Check the roof for damage and reattach any loose pieces. Some birds use birdhouses for winter roosting, so having it in good shape matters. Touch up paint if it's looking weathered.
Check that mounting brackets are secure and nothing's come loose from freeze-thaw cycles. That's it. Cold weather actually preserves the wood, so this is the easiest season.
Most damage comes from neglect, not from the weather itself. A birdhouse you built properly and finished well will outlast you. You're not maintaining a structure — you're just checking in occasionally to make sure it's still doing its job.

This article provides educational information about building birdhouses from wood. While these instructions reflect established woodworking practices, results may vary based on your materials, tools, and local conditions. We're not responsible for structural failures, injuries, or property damage resulting from your project. Always follow safety practices when using tools and power equipment. If you're uncertain about any step, consult with an experienced woodworker in your area. Local regulations about nesting boxes vary — check with your regional wildlife authorities before installation, particularly regarding species protection and placement guidelines.